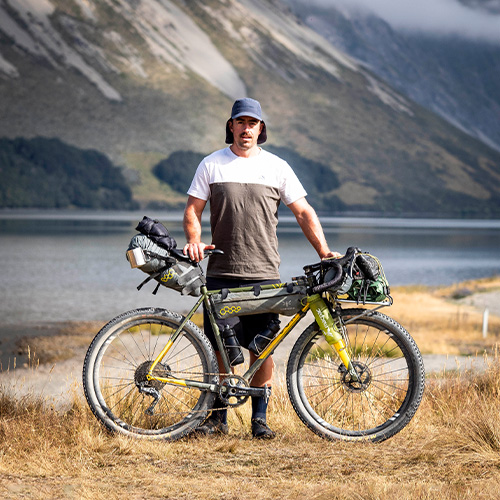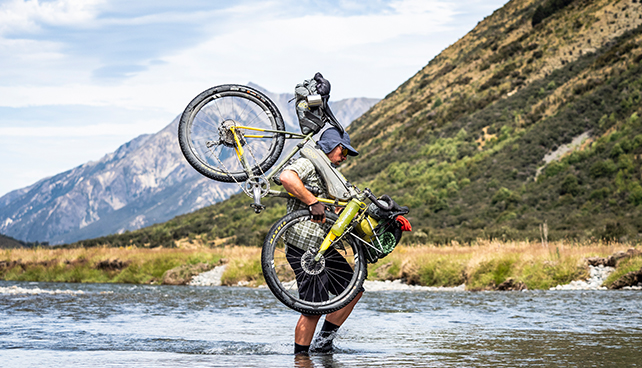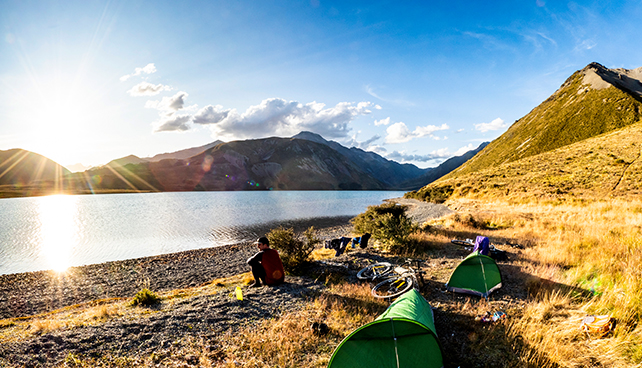
We’ve partnered with NZ Cycling Journal to bring you a new three-part series on bikepacking – in time for spring adventures. They’ll be covering the bike, the kit/apparel and finally, the camp equipment. The team at NZ Cycling Journal are passionate about showcasing the incredible riding New Zealand has to offer and providing unbiased, honest reviews of gear and their experiences in the field, so you can make more educated decisions and the most of your precious riding time. So, grab a coffee and enjoy a fresh perspective straight from the trails.
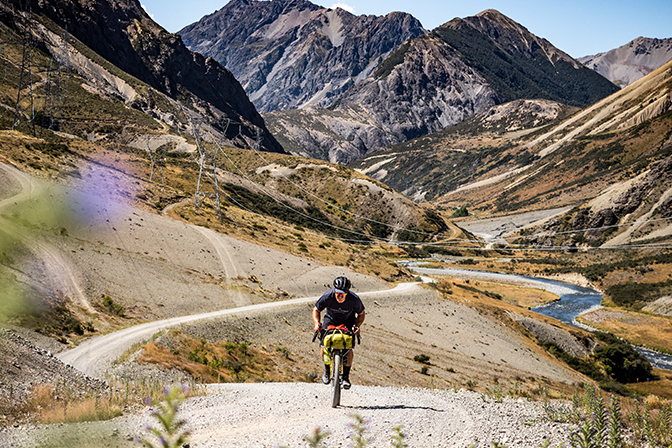
NZ Cycling Journal: We’ve done plenty of bikepacking adventures off the grid over the past few years and we’re excited to dive into one of our trips, bringing you the insights. Of course, this three-part guide won’t cover everything bikepacking has to offer, but it’s something to get you started.
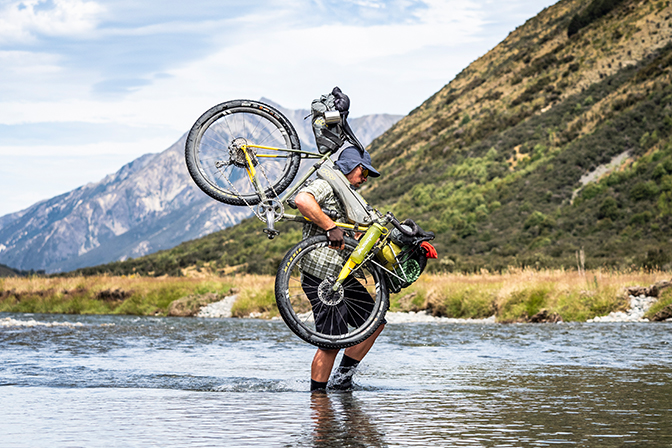
Last summer we took on a self-supported bikepacking adventure over four days in the upper South Island. We wanted to get further and deeper into the backcountry, so camping was the best option. The route took us through Rainbow Station, the road links St Arnaud to Hanmer Springs and it would tackle the St James Cycle Trail.
Here’s a brief breakdown of the bikes’ of bikepacking.
Bikepacking Overview
So, you want to get into bikepacking, travel to remote places, spend days away from home, be self-sufficient? And you already own a bike, you may question if this the right bike, well the answer is; yes! If it’s a mountain bike that works for you on trails, then nine times out of ten you can make it into a capable bikepacking rig with a few modifications. If you already have a road bike or drop bar bike that works for you then these can work fine too. It’s really down to what type of terrain you want to ride. Afterall, this isn’t cycle touring (months travelling via bike), bikepacking doesn’t rely on your frame having eyelets for panniers and racks. Bikepacking is simple; just stuff your gear into a bikepacking bag, strap it onto your rig and then you’re off!
Bikepacking lends itself to escapism with minimal fuss and with the current climate who wouldn’t want to escape right now?! It also lends itself to traversing for long hours as you travel from one destination to another. So, ensuring you have a comfortable saddle, the right gearing and overall set up is critical. Getting a good bike fitter to fit you is well worth the investment for the multiple hours/days/weeks that you’ll be riding. Above all else, ensure you’re completely comfortable on the bike and that it’s in good working order before heading off anywhere.
Bikepacking Bikes
We won’t breakdown the whole array of all the bikepacking bikes available but can give you a quick overview of the more popular ones.
So, firstly there’s the true essence of the bikepacking scene, it’s carrying only the bare essentials on a bike that’s light enough to tackle the trails you’d typically ride in a day. In reality almost any mountain bike can be made into a capable bikepacking bike. This is more commonly known as Multi-day Mountain Bikepacking.
Secondly there’s a genre that has exploded in recent years. It was helped made popular with a self-supported ultra-race across the world and we even have one of our own, Tour Aotearoa. This is more commonly known as Ultralight Race and Gravel.
And finally, there are the bikes perfect for escapism and traveling to connect with people and experience cultures. It’s totally immersive, unfiltered and gets you off into more remote areas with little traffic, unsealed roads and into rugged landscapes in the backcountry. This is one of our most preferred set-ups as it’s just so versatile – this style of bikepacking is more simple and versatile than using racks and panniers as more traditional cycle touring does. And, this is more commonly known as Expedition and Dirt Touring.
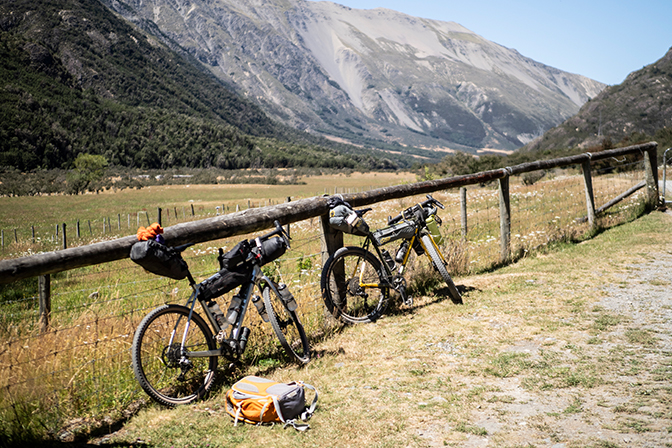
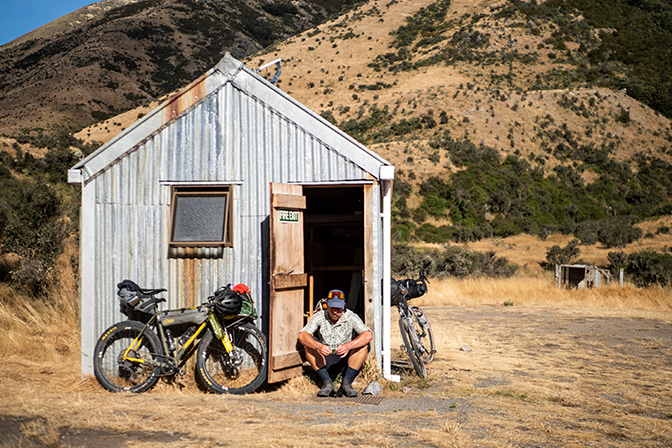
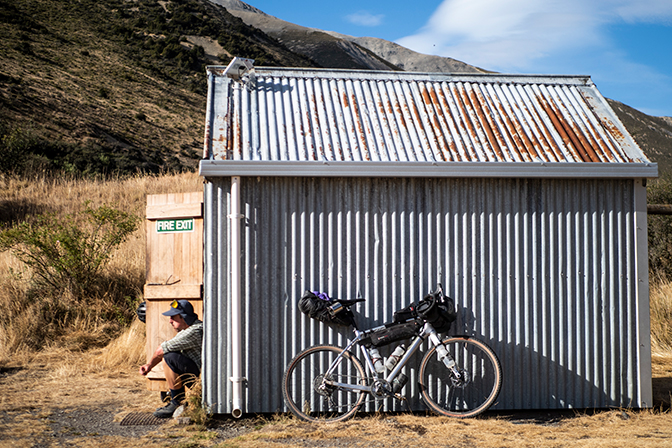
As mentioned earlier, last summer we took on a self-supported bikepacking adventure over four days in the upper South Island. For this adventure we used a Curve Kevin and a Kona Libre. Here’s a breakdown of each bike we used on the adventure, the components and the parts and accessories.
Curve Kevin
This frame is steel, which is robust, it’s fitted with Shimano GRX. The Curve Kevin can take either 650B or 700c wheels and we opted for the 650B due to the technical nature of the terrain we’d be riding. This bike has a ton of lugs and mounting options which is good as it offers more places to store your things – and if you go further afield you need more things! This bike performed really well for the duration of the trip and we were impressed with the steel which gave the bike a more comfortable feel, especially evident when you climb off the rig after a long day in the saddle. It was capable on all the technical riding thrown it’s way and endured the relentless nature of the scree slopes. However, we felt the bike was under geared for some of the large and steep climbs we encountered. This was made more evident as the bike had more weight due to our bikepacking bags filled with gear. We have since fitted a larger (11-46) rear cassette for more range.
- Frame Material: Curve GXR – Columbus Zona & 4130 Chromoly
- Fork: Curve Carbon GXE 12mm Flat Mount
- Wheels: Curve Dirt Hoops 650B
- Crankset: Shimano GRX RX800 (1x 11 40t)
- Cassette: Shimano XT M8000 (11-42)
- Drivetrain: Shimano GRX RX800
- Brakes: Shimano GRX ST-RX810
- Seat Post: Thomson Elite
- Cockpit: Thomson Elite/Spank Vibrocore
- Front Tyre: Maxxis Ikon 3C/EXO/TR 27.5×2.2.0
- Rear Tyre: Maxxis Ikon 3C/EXO/TR 27.5×2.2.0
Kona Libre CR
This frame is carbon, which is lightweight, it’s fitted with SRAM Rival 1. The Kona Libre CR can take either 650B or 700c wheels and again we opted for the 650B due to the technical nature of the terrain we’d be riding. This bike has many mounting options, mainly for extra bottles and a top tube bag which is good as it allows you to carry more water and snacks – and if you go off the grid for a few days you need food and more importantly water! This bike performed really well for the duration of the trip and we were impressed with its agile handling even with bikepacking bags. However, again we felt the bike was under geared for some of the large, steep climbs we encountered.
- Frame Material: Kona Race Light Carbon
- Fork: Kona Verso Full Carbon Flat Mount Disc
- Wheels: WTB KOM Light Team i23
- Crankset: SRAM S350 (1x 11 40t)
- Cassette: SRAM PG1130 (11-42t)
- Drivetrain: SRAM Rival 1
- Brakes: SRAM Rival 1 160mm front / 160mm rear rotor
- Seat Post: Kona Thumb w/Offset
- Cockpit: Kona Road Bar/Kona Road Deluxe Stem
- Front Tyre: WTB Venture TCS Dual 650x47c
- Rear Tyre: WTB Venture TCS Dual 650x47c
Stay tuned for Bikepacking part two
The second instalment of the Bikepacking Gear Guide will drop next week, where we’ll cover all things kit/apparel related. For more content about exploring life on two wheels, check out the NZ Cycling Journal website or follow us on Instagram.
